
Reviewing & Approving AI Changes
The approval step is the safety net under everything you do here. No change reaches your visitors until you’ve looked at it and said yes. Here’s how to use that step with confidence.
#What you’ll see
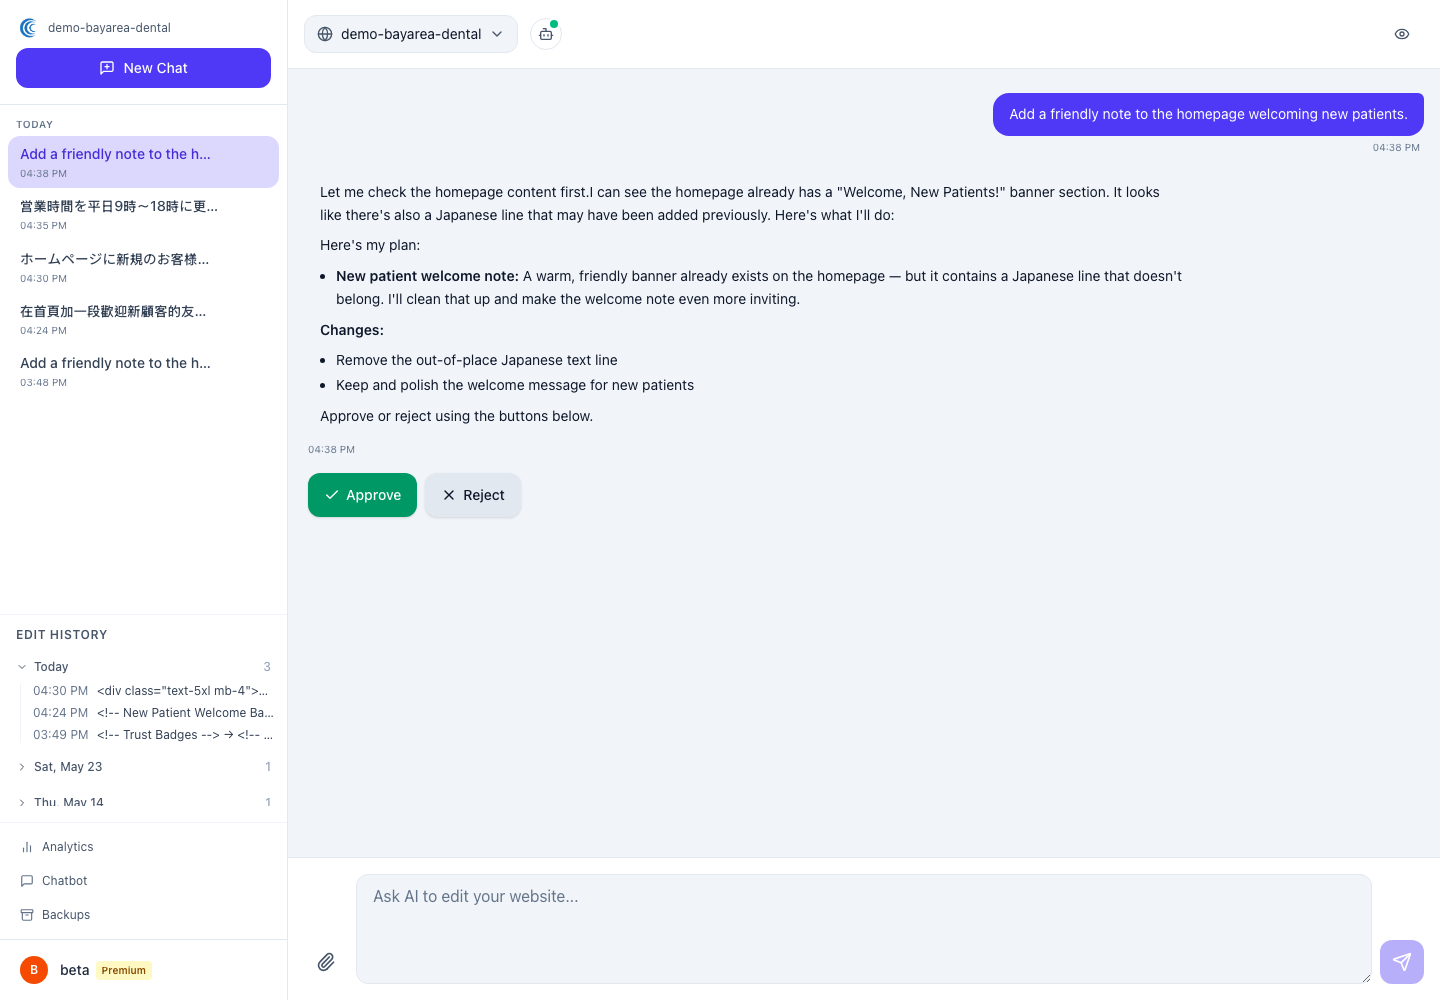
After you ask for a change, the AI writes back a short, plain-English summary before it does anything:
- What’s changing — for example, “removing the Margherita pizza from the menu.”
- Where — which part of the site it affects.
It ends with a prompt like “Type yes to apply these changes, or no to cancel.” At this point your live site has not changed.
#How to approve
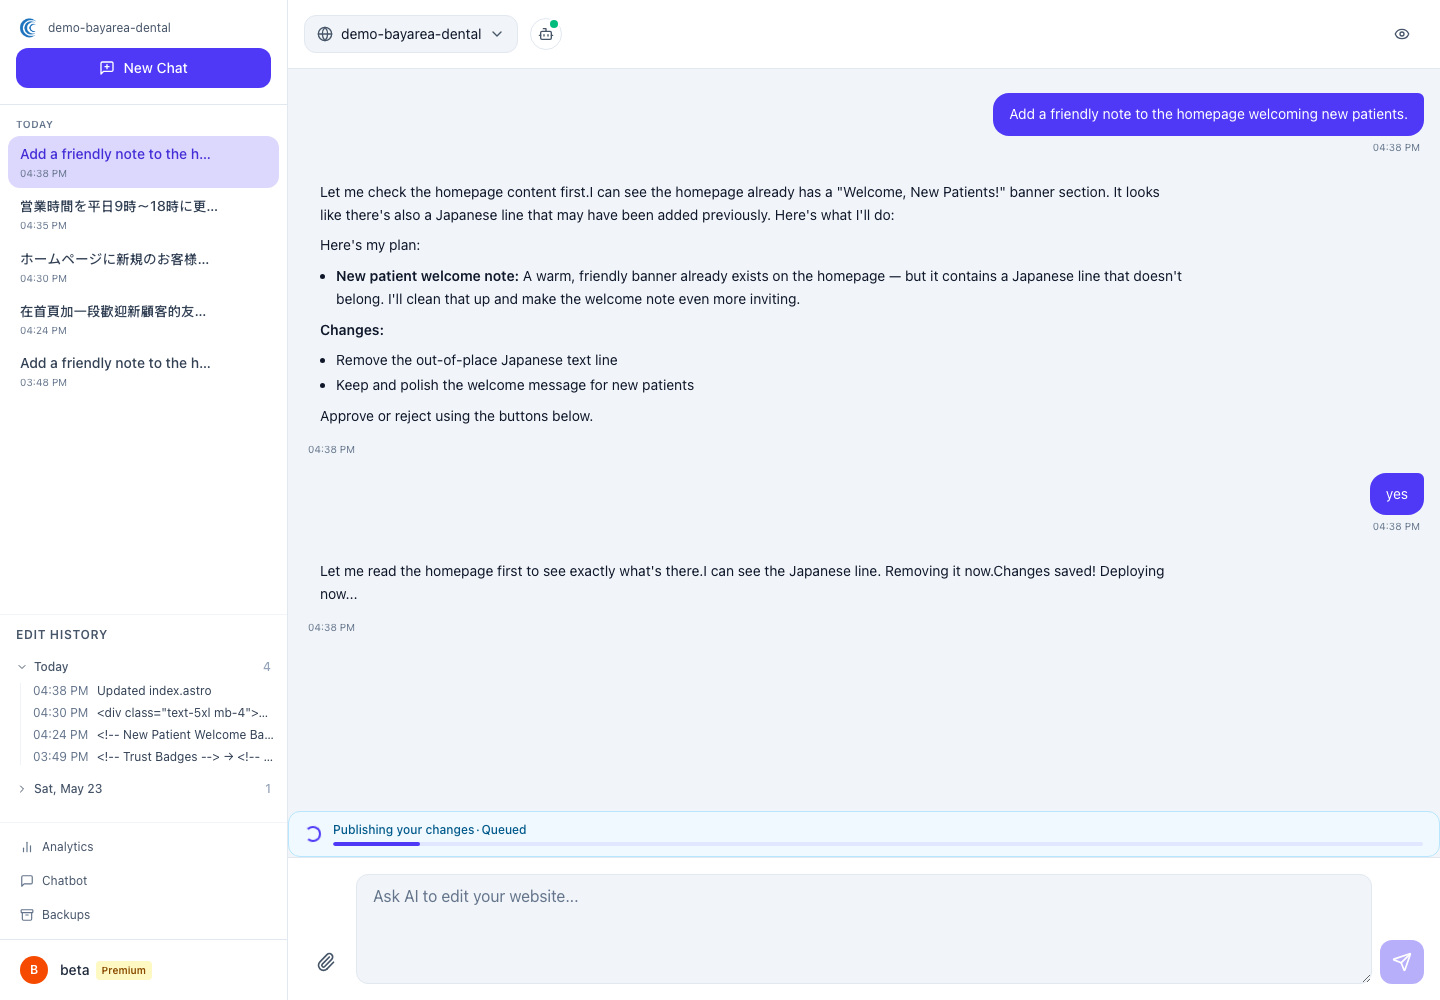
If the summary looks right, simply type yes (or “ok,” or “go ahead”). The change is applied and starts publishing.
#How to change your mind
If it’s not quite right, just say what’s wrong in plain language:
“No — keep the Margherita, just mark it as sold out.”
You’re not stuck with a yes-or-no choice. The AI sends back a revised plan, and you can go back and forth as many times as you need until it’s exactly what you want.
If you want to drop it entirely, type no and nothing happens.
#After it’s live
Even once a change is published, you’re not locked in. Every edit is saved automatically, and you can roll back to the previous version with one click — today, tomorrow, or next week.
#An optional shortcut
If you’d rather not approve every small wording change one by one, there’s a setting called “Auto-publish simple text changes” in Settings. Turn it on and small, low-risk text edits publish automatically — bigger changes still ask for your approval. It’s off by default, so you stay in full control unless you choose otherwise.
#The bottom line
You can’t accidentally publish something. Approval is built into the workflow, not a setting you might forget. Curious how the live preview fits in? Read Previewing Before You Publish.